The Upper Hudson Library System (UHLS) is launching a brand new online catalog starting January 1, 2026. The new catalog is called Vega Discovery and has both a desktop and mobile version.
In this post, we’ll go over the new features of the catalog, as well as give instructions on how to use features from the old catalog.
The screenshots below show the desktop view. It may be slightly different on mobile devices.
Searching
To search for an item, click into the search box on the catalog homepage. If you are not on the homepage, you can click the orange magnifying glass icon in the top right corner.

You can search for materials using keyword, author, title, subject, and more. To search by specific criteria, use the drop down box next to the search field.

Once you have searched, you can refine your search using the panel on the left. On mobile devices, you can tap on Refine Results.
Mobile view:

Desktop view:

Availability has two options: At library, which are physical books at the library, and online, which are ebooks and digital audiobooks available through Libby or hoopla. If you select At library, the search is refined to books at the library that are not currently checked out.
Date is the publication date of the item. Format is the type of item you’re looking for (for example, book, DVD, Large Print, etc.). Age is helpful if you’re looking for items geared for certain age groups such as Teen, Juvenile, etc. Language limits to a particular language.
The Concept limiter is for subjects. For example, when searching for cats and I want to limit by concept, I am shown these options:

Next to each is the number of items within that particular concept/subject.
Locations allows you to limit your search to a particular library or libraries within the Upper Hudson Library System.
Item Details
In Vega, all of the item types (book, ebook, audiobook, etc) are listed on tabs near the item record on the results page or an individual item page. To see what items own each item type, click on its tab. For example, if you wanted to request or see details about the audiobook version, click on the Audiobook tab.

To view other editions of an item, click on Find Specific Edition.
Requesting an Item
To request an item, locate the item you are requesting by searching or browsing and then click on the Request Any Edition button.

To request a different edition (for example a version that came out in a specific year, click/tap Find Specific Edition and then Request Edition.

My Account
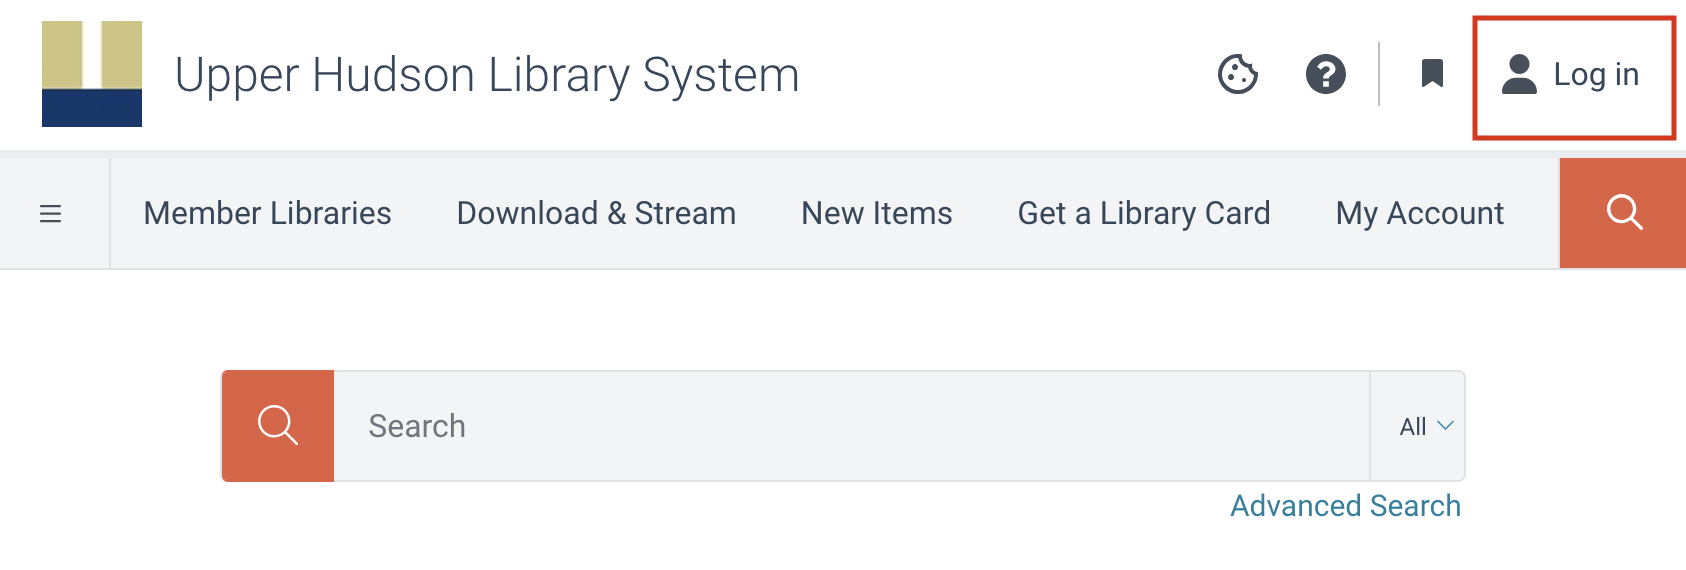
To login to your library account, click on the person icon in the top right corner.
Next, enter the full number on the back of your library card in the barcode field. Your PIN is by default the last four digits of your phone number. If you get an error and can’t login, please contact the library.
Once you have logged in, click on your name in the top right corner. You can quickly access your checkouts, holds, and fine/fees on your account by clicking/tapping the number above each heading. To view your full account, click on your name.
On the left sidebar, you will see checkouts & requests, bills & fines, bookmarks, and saved searches.
Overview
The first tab is an overview that shows a shortcut to your current holds and checkouts.
Account
The second is Account. On the account tab, you can view your contact details, your preferred pickup location, and your card’s expiration date.
To edit account details, click or tap on the pencil icon next to your name. This is where you can edit your preferred pickup location. Note: to change your address, you must contact the library.
To save a list of all the items you have checked out, click/tap the checkbox next to Reading History.
After making any changes, be sure to click/tap the save button at the bottom.
Checkouts & Requests
Within this section, there are three tabs. On the checkouts & requests tab, you’ll see the checked out date, the due date, how many times an item has been renewed, and the option to renew the item. You will also see the total number of items you have checked out.
On the hold requests tab, you will see the total number of holds, your place in line on the hold list, the pickup location of the hold, and the option to cancel or freeze the hold (which you can edit by clicking/taping the manage hold button).

The history tab shows your checkout history. If you don’t see a list, make sure you have opted in as discussed above in the account tab section.
Bills & Fines
This tab will show any outstanding fees or fines on your account, along with the ability to pay online.
Bookmarks Tab
On the bookmarks tab, you can find items you have saved to view later. To save an item for later, search for the item, and then click/tap on the For Later icon. You can also choose to create separate book lists, and they can be view here as well.

Once items are on your Bookmarks tab, you can place holds on them by checking the box next to the title and then clicking/tapping the Place Hold button. You can also quickly view the item details in the future by clicking/tapping the title. When clicking/tapping the For Later button, you have the option to save to a new list as well. For example, you may want a Travel booklist, or a Romance Fiction booklist.
Items that are available will be displayed first. To see all of your lists, scroll down to the bottom of the page.

If you would like to delete or rename a list, click/tap on the three dots in the corner of the list details. To share via email or by copied link, click/tap on the share booklist link. Bookmarks can be accessed through the account area or by clicking/tapping the bookmark icon in the top right corner.
Saved Searches Tab
If there is a search you perform frequently, you can save the search to your account. To save a search, perform the search, and then click/tap the Save Search button.

You can edit and delete saved searches by clicking the three dots to the right of the list name.
Conclusion
The new catalog is going live January 1, 2026. When you first visit the site, you may see a popup asking about your cookie preferences. You can click x to exit or manage to change your preferences.
If you have any questions about the new catalog, please contact the library.