How To Stop Being Disturbed – Android Edition

Last week we showed you how to use Do Not Disturb on Apple devices. There is a similar functionality available for Android devices that we’d like to highlight this week.

What Is the Do Not Disturb Feature?

In case you missed last week’s article, the Do Not Disturb (DND) feature is exactly what it sounds like. You can set your phone to turn off notifications so you won’t be disturbed. With Android, you can schedule times to not be disturbed or you can set it on the fly. It’s not an all-or-nothing proposition, though. Suppose you’re used to setting DND at night to avoid being woken up, but your friend is expecting a baby and you want to make sure that call/text comes through no matter what time of day it is. You can set that contact’s communications to ring through the DND setting.

Use DND on the Fly, on a Schedule, or Both

If you’re about to go into a meeting or a classical music concert, you may want to turn on DND manually. To do that, swipe down from the top of your device to reveal shortcuts. If you only see 4 shortcuts, swipe down on those shortcuts to show more. Depending on where your DND shortcut is, you may need to swipe left or right to find it. In the screenshot, my DND is on the left side. I marked it in red to make it stand out.

Screenshot showing swipe-down menu with Do Not Disturb toggle circled in red on lower left

When you tap the icon quickly, it lights up and blocks all notifications and alarms (unless you have set exemptions). If you press and hold the icon, you get options to choose from. Tap the button at the top of the options page to turn it on or off. Just below that, you will see the kinds of exceptions you can make:

Screenshot of Do Not Disturb options screen
  • Clicking on People brings you to a screen with two options – messages and calls. Select one to choose who (from your contacts and conversations) can interrupt DND with that type of communication.
  • Selecting Apps will allow you to pick which app notifications come through. For example, if you don’t want to hear email notifications but want texts to break through the DND, this is where you would set that.
  • Alarms and other interruptions could be helpful if you want things like reminders and calendar events to override DND.
  • Schedules allows you to enter a sleep schedule or set options like activating DND automatically while gaming.
  • Duration will let you set an expiration time or leave it set to turn off manually.
    • By default, DND turns off sounds. If you would also like to turn off visual notifications, use the final option on this page.

Using Pixel Phone and Stand?

If you’re using a Pixel Stand to charge your Pixel phone, you can set it to go into DND mode anytime it is docked.

  • Open the phone’s Settings app
  • Tap “connected devices”
  • If you don’t see “Pixel Stand” under “previously connected devices,” tap “See All.”
  • Next to “Pixel Stand”, tap settings
  • Select “Do Not Disturb while docked”

Other docks and phone models may also have this feature. Check your documentation for details.

Summary

Do Not Disturb is a helpful tool if you want to configure your phone to stay quiet when you can’t be interrupted. If you’d like to learn even more about how to use Do Not Disturb on an Android phone, check out Google’s DND help page. Do you use DND on your phone? Let us know in the comments.

How to Stop Being Disturbed: Apple Edition

It’s probably happened to you at least once, it’s late and you’re just starting to fall asleep and then your phone either vibrates or chimes with some type of notification. Luckily, there are ways to easily avoid your iPhone or iPad disturbing you when you just want some peace and quiet. Android users: there will be a future post detailing how to use a similar feature on Android devices.

Apple has a built-in feature on their devices (iPhone, iPad, and Mac books) called Do Not Disturb or Focus, depending on which version of iOS or mac OS you are using. For devices running iOS 15 and later, Do Not Disturb is incorporated into the Focus app. When Do Not Disturb/Focus is active, you won’t get app notifications, texts, or calls.

Getting Started

To get started on an iPhone or iPad, go into the Settings app. Focus can be used on a schedule, or on an as-needed basis. Tap on Focus to begin.

screenshot of main focus settings

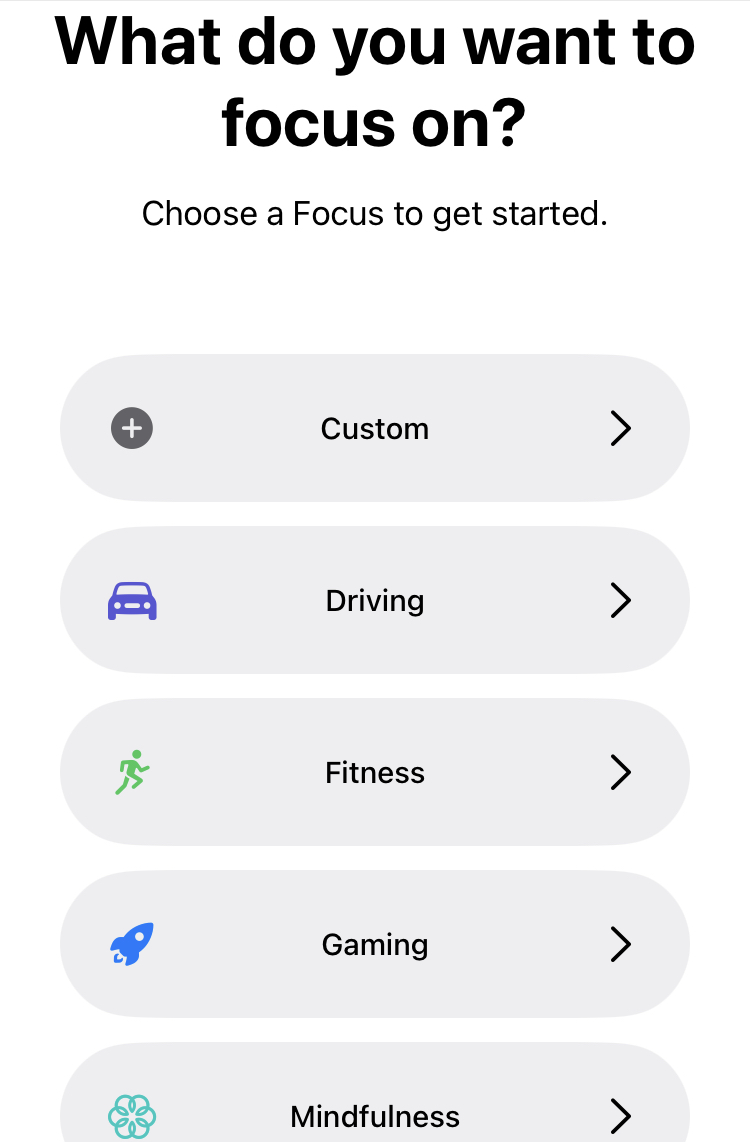
From there, you’ll see several options. If you tap on Do Not Disturb, you will get options for how you would like to use Do Not Disturb. Set up different options for general do not disturb, sleep, or when you’re at work. There is also the option to add a custom mode such as when you’re driving, working out, and more. For people who have more than one Apple device, you can share your Focus schedule across your devices. This schedule will be shared if Share Across Devices is selected.

To set up and use do not disturb on a mac, follow these helpful instructions from Apple.

Sharing Your Focus Status With Others

If your Focus Status is on and someone tries to message you, there will be a message stating that you have notifications silenced, and they will be given the option to notify you anyway, in case of an emergency. If the person messaging you taps notify anyway, you will receive a regular text notification.

screenshot of text message screen showing notify anyway

What if you don’t want to give people that option or you want to turn it off for certain contacts? MacReports has written a helpful article with instructions on how to turn off that feature or turn it off for certain contacts.

Do Not Disturb Options

Tapping on Do Not Disturb will give you various options. You can select which people or apps you would still like to receive notifications from. For those with iOS 16, you can have a different lock screen picture when Do Not Disturb is on, as well as a different set of home screen icons.

Screenshot of main do not disturb screen

Scheduling Do Not Disturb

If you’re like me and you’re a set-it-and-forget-it kind of person, you can set a schedule for when Do Not Disturb turns on each day. You can even set a different schedule for different days of the week. Simply scroll down and set up your custom do not disturb schedule.

screenshot showing example of Do Not Disturb schedule

Smart Activation is basically Apple using past device behavior to determine when you would like to activate Do Not Disturb. Diving in even deeper, you can control the behavior of certain apps when Do Not Disturb is on. For example, you can choose which messages you would like to see, select if you’d like dark mode to come on, turn on low power mode, or more.

Driving, Fitness, and More

For more information about Do Not Disturb, Sleep, and Work modes. Apple has written up a thorough set of instructions. Included in those instructions is how to set up a custom mode that can include while you’re driving, exercising, and more.

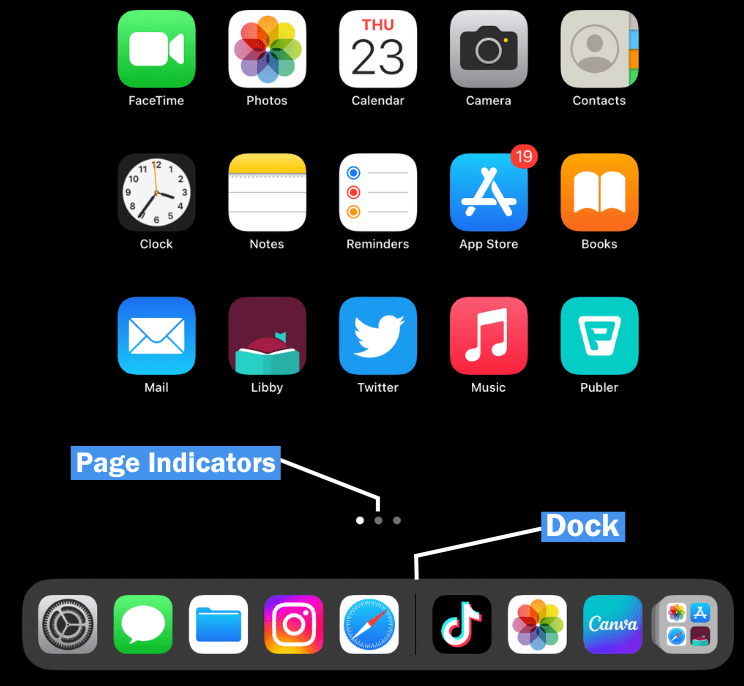
screenshot of other types of focus modes

Have you tried out Focus? Let us know in the comments!

Use This Tool to Share Videos In a Kid-Safe Way

YouTube is an excellent learning tool for people of all ages. To make it profitable for the platform and content creators, videos often contain ads, suggested content, and comments from other users that may or may not be appropriate for sensitive users. Wouldn’t it be great if there was a tool that could strip that all away when you share a video? There is! And it’s legal.

Introducing VideoLink

VideoLink is a free service that “cleans” the extraneous clutter from a video to provide a distraction-free viewing experience. They do have paid tiers available for advanced sharing and saving an unlimited number of links, but for most purposes, the free version is enough.

If you want the sanitized links to last for longer than an hour, you will need to create a free account to save them.

Using VideoLink

To use VideoLink, paste a YouTube link into the entry field on their home page and click “generate link.”

After a moment, the page will redirect and you will see your YouTube video embedded in a VideoLink page. But you still have options to configure.

Below the video, there is an edit tab where you can change the title or description, make it a private video, hide buttons, or add it to a VideoList (like a YouTube playlist). When you are done editing, save and preview.

If you have not already, saving a link prompts you to create an account. When I tried this from the converted video screen, I kept getting a weird message about needing to allow third-party cookies in order to log in. I had to go back to the home page to successfully create an account. You may want to create yours before pasting your first link in.

To view your saved links and lists, click on your name in the upper right corner and select the option. This is also where your account settings live.

How Would You Use This Tool?

Does this tool have a use case for you? If so, let us know in the comments. We’d love to hear how you are using it.

Sketchsplanations: Learn New Concepts From Illustrations

If you have ever lacked the words to describe a difficult concept, or if you are a person who learns well visually, Sketchsplanations may be the perfect site for you.

The idea behind the website is embedded in its subheading: explaining the world one sketch at a time. Jono Hey, the artist who created Sketchsplanations, draws one sketch per week that explains a concept. While I’m writing this, I am enjoying the humor in the fact that it would be easier to show you the website than explain what you can find there. I would urge you to head to Sketchsplanations and browse to get an idea of the types of explanations you will find there. If you’d like to look for specific subjects, check out the tags page for the website. I found the illustrations under the “what’s the difference between” tag to be very interesting.

I Love the Website! Where Can I Get More?

Sketchsplanations offers several ways to subscribe for more content. You can sign up to receive emails or use an RSS link in your favorite reader. If you don’t want the content to come to you, you can follow them on Twitter, Instagram, LinkedIn, or Pinterest.

How to Stop Your USB Cable from Spying on You

Let’s be honest, not all of us are using the original USB cables that came with our phones and tablets when we bought them. Maybe it is lost, or maybe one cord just isn’t enough. Cords are cheap online, so why not grab a few extras? As it turns out, not all cables are created equal. Some could be used to steal your information.

How Can a USB Cable Be Dangerous?

Cables seem like pretty basic items, and it seems odd that an item without an electronic “brain” could pose a danger. Remember, though, that USB cables can be used to transfer data as well as charge hardware. If you want to put a picture from your phone onto your computer, you could plug it in and copy it over.

This same functionality could be used by bad actors to trigger a data transfer any time you use that wire in a device – even at a public charging station. You would assume that because it is branded as a charging station, that is all it does. But there is no good way to check if your wire is trying to do more. Some devices will not initiate data transfer without a confirmation prompt on the device, but that is not always the case. The only way to be sure your data remains safe would be to use an adapter that disables the data wires in the USB, allowing it to charge only.

USB Data Blocking Adapter

One inexpensive product that can protect you from unauthorized data transfers is a USB data-blocking adapter. It is a small dongle you place between your wire and the charger (or other devices) with the data wires removed so that it can only charge your device.

PortaPow (available at Amazon) is a trusted name in data-blocking technology, but neither I nor the library receives any compensation for mentioning them. No matter which brand you use, make sure there are no data wires at the end that plugs into the charging device.

Summary

If you are using after-market cables or public charging stations, it’s a sensible safety precaution to use a USB data blocker. At under $10 per adapter, this is one of the least expensive ways to secure your data. Do you use a USB data blocker? If so, let us know in the comments.